Learn how to take realistic and true-to-life HDR photos to preserve the maximum detail of the subject in the picture.
Why HDR?
The human eye sees the world in much better detail than any modern digital camera can capture. After all, our eyes are complex mechanisms. They adapt to harsh light and perceive color and detail with much more clarity than can be saved to a RAW file.
HDR can help to create the best natural picture possible with sharp detail and excellent light no matter what camera you use or what subject you shoot. You can always get near-perfect results with the proper HDR technique.
Step One: Preparation
Get a camera and look around. What can you shoot? The answer is everything and everyone. There are so many opinions and disputes over the HDR technique, and many people overdo it at the beginning.
The right way is the tried and true method of understanding what you like and dislike. The result depends entirely on YOU. So remember main tips on how to take HDR photos and try to capture what you want, even if you don’t think you will get a great shot.
What to shoot? Here are some ideas.
- Landscapes
- Architectural monuments; industrial buildings
- Interiors
- Wedding moments
- Animals
- Nightlife
In a nutshell: What HDR does.
- Takes several images at different exposure settings
- Combines the images into one photo
- Tone maps the photo
- Completes the processing
Step Two: Setting up Your Camera
Always shoot RAW format images, which are better for processing in Aurora HDR. Why? The RAW format saves all image information that would be otherwise lost if stored in a compressed format, like JPG.
Natural looking high-dynamic-range (HDR) photography is possible when you have 3-5, or even 7, images taken at different exposure settings, then merged into one picture. The result is beautiful photos with incredible details, balanced colors and proper lighting.
Auto Exposure Bracketing Mode
First, set the camera to auto bracketing mode. This will allow you to take pictures at different exposure settings just by pressing the shutter button. Most digital cameras have a bracketing setting that allows you to take photos with 1EV steps, but you can find cameras with 2EV steps. With 1 EV bracketing, you should take five to seven shots for each scene.
Pseudo-HDR Photography
Many programs can create a pseudo-HDR image from a single RAW or JPG photo. The advantage of this option is that there’s no need to take several pictures and no "ghost effect" if people are in motion. However, this method fails to achieve a truly high dynamic range.
Pseudo-HDR pictures may be a bit blurry and may have less detail. However, in a situation where we shoot people, animals, or vehicles in motion, a pseudo-HDR photo will be better than real a HDR photo, comprised of several images. For example, can take natural water images this way.
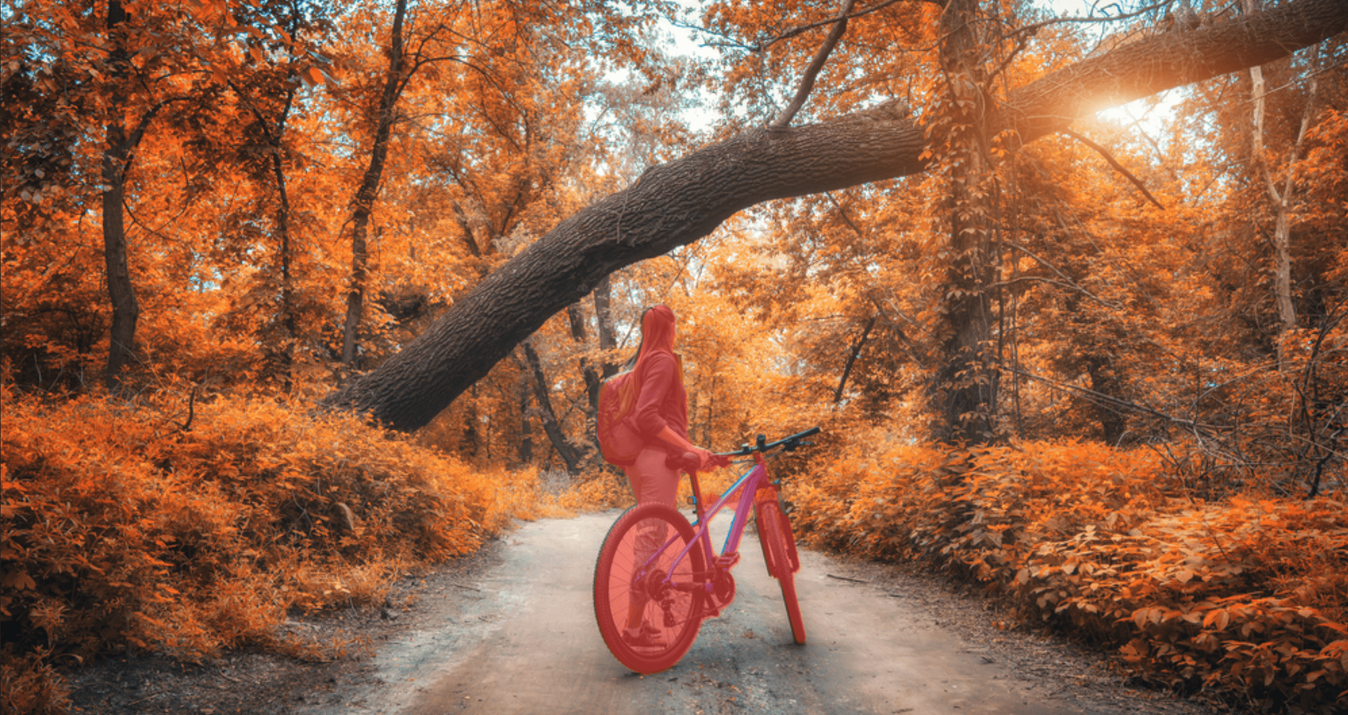
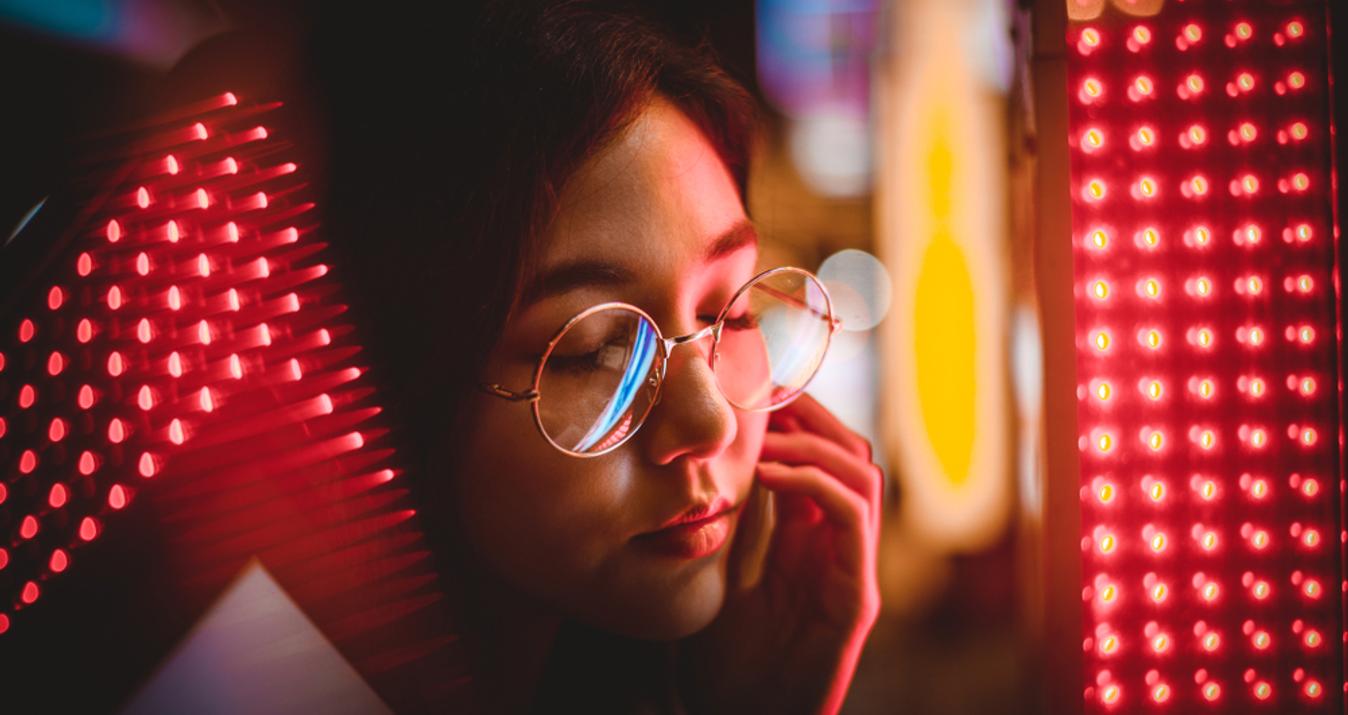
HDR Photography and People
Shoot people very carefully and selectively using the HDR technique. Especially people in a group, such as a bride and a groom at the alter. Even if you can get people to freeze for a moment, the slightest movement can result in a blurry image or change the color of a person’s face.
These imperfections can be reduced or eliminated with Aurora’s ghost reduction, color and tone controls.
The Final Step for Creating a Natural Picture: Image Processing
Create a folder on your computer. Transfer the photos from your camera to that folder. Launch Aurora and load the images. Click “Create HDR” and have fun. You can select one-click presets or adjust the pictures manually.
If you are using Adobe products to handle your pictures, Aurora is also available as Lightroom or Photoshop tone mapping plugin.
The process can take from only a few seconds to a few hours. A natural looking HDR photo depends on the shots, your creativity and a little bit of luck.