
Everyone is talking about HDR right now, but in order to create this kind of photo, you need to understand first what is high dynamic range photography. Read this article to the end if you want to learn more about the HDR meaning in photography.
Now HDR photography means a lot. Photographing a high-contrast scene can be really frustrating when the pictures you just snapped don’t do much justice to the subject. However, you shouldn’t worry much about it as most photographers deal with this problem every now and then. Despite the fact that it’s almost impossible to capture the best photographs under these circumstances, there is a solution: HDR processing.
What is HDR
So, what is HDR photography? High Dynamic Range (HDR) is a dynamic range that is found in the difference between the lightest shade of whites and the darkest shade of blacks. Through HDR, you can recreate the subtle layers of whites and blacks in your photos as they are seen by the naked human eye in real life. Without a proper dynamic range, photographs tend to look over or under-saturated. Despite running into complications while taking photos that truly capture both ends of this spectrum, photographers have now found ways to deal with it. In simple words, this is what HDR generally is. It’s the perfect solution to the high-contrast issue that almost every photographer has to deal with at some point.
How it Works
You already know what are HDR photos. But if you want to talk about HDR at the most basic level, then it’s really a set of photos that are taken at different exposure levels.
When mashed together using a software, these photos look very high quality with vivid life-like colors. Although it’s a bit more complicated that than but just to give you a gist of how things work, this is pretty much it.
Technically, the photographer has to take a range of bracketed photos (photos of the same subject/scene). These bracketed photos have different shutter speed/aperture combinations which are distinct from one another. This results in an image that has varying luminosity and depth of field – giving it an exemplary look photographers usually strive for.
However, the real part comes right after the photos have been composed. With the help of post-processing software such as Photoshop, Lightroom or Aurora HDR software (this is what we prefer using), the photos are blended together to create a single image which is more focused, well-lit and reveals the intricate layers of colors found in the actual scene.
HDR vs. Non-HDR
Here we will need to recall the HDR photography definition. This technology allows for a wider range of brightness and color in digital images. The high dynamic range involves taking a series of images of the same scene at different exposure levels and then combining them to create one picture. The result is a detailed and vibrant photo that more closely resembles the scene as seen in person. This is the best solution for a landscape photographer.
Non-HDR photography, on the other hand, is the process of capturing a single image at a standard exposure level. The resulting pictures may lack detail in the light or dark areas, depending on the lighting conditions.
So, HDR images are generally considered superior to non-HDR because they can capture a more realistic representation of a scene. However, additional processing time and expertise are required to create multiple photos, and not all scenes are suitable for this technology. In addition, high dynamic range images may require additional post-processing to make them look natural.
How to Create an HDR Image
Here are a few things you need to know before you head out to create HDR images that are mind boggling and awe-strikingly beautiful:
Choosing a Camera
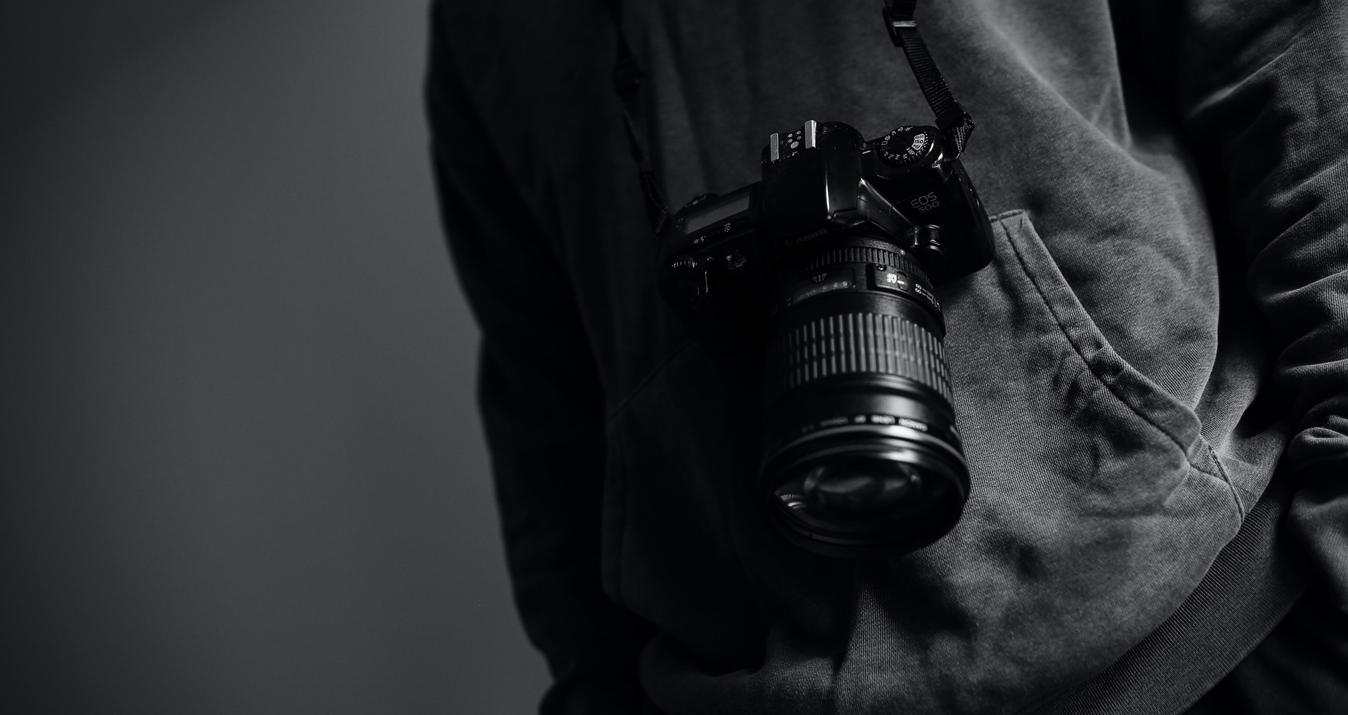
How difficult is capturing multiple images? Choose a camera that has an AEB (Auto Exposure Bracketing) function. Although this isn’t 100% necessary, it can make it very hard to line up all the pictures perfectly without this feature. AEB allows the camera to quickly take three to nine photographs so that they come out sharp and distinct.
Today, almost every DSLR camera has this function but some compact cameras don’t. So be careful if you’re looking to buy a camera specifically for HDR photography. We recommend buying an entry-level DSLR camera which would be well worth the investment.
Take Shots of Immovable Subjects
HDR isn’t meant for objects that move since it’s a mixture of multiple photos and exposures. In the end, you’ll have a blurry image which doesn’t look as appealing as it should. Unless you have a high-end DSLR with higher shutter speeds and a good source of light, you won’t get the desired effect. This is why it’s better to choose a scene that does not dramatically shift in a 10 second period – the less the better.
Keep an Eye Out for High Contrast Scenes and Subjects
Believe it or not, but one of the best HDR photographs are taken by looking at the contrast between light and dark areas of a subject or scene. Finding these spots using your naked eye can be a little daunting at first but in the end, it definitely pays off.
Higher contrast scenes or subjects product better dynamic range which yields a superior HDR photograph. These shots are also the ones that benefit the most from HDR post-processing since the software is able to work with more pixels.
Always Try to Shoot in RAW
Shooting in RAW format is one of the best ways to allow the camera to process the image better which results in improved post-processing. This is because RAW is a lossless format whereas other formats such as JPEG undergo heavy compression which leads to a loss of detail in your photos.
Post-processing software requires data to provide better HDR photographs – the more you feed it (with data and RAW photos), the better the image would be in the end. Since shooting RAW images takes a bit longer for your camera to process and write, we recommend buying a Class 10 memory card that helps reduce the time it takes to store RAW images.
Post-Process the Image(s)
Now it’s time to do the actual legwork that brings HDR images to life. For Mac users, we recommend everyone to use Aurora HDR, a software by Skylum that has been frequently used by professional photographers such as Matt Granger, Richard Harrington, Trey Ratcliff etc. But if you don’t use a Mac then go for Lightroom by Adobe. It’s much easier than Photoshop and would suffice for creating HDR images.
Of course, if you feel you can handle the power Photoshop, go for it!
Camera Settings for HDR Photography
You will need to adjust your camera settings to capture different exposure levels. Here are the basic tips:
- Set your camera to manual mode. This allows you to control the exposure settings, which is essential for HDR in photography.
- Set your ISO to the lowest possible setting. A low ISO will result in less digital noise and a cleaner image.
- Set your aperture to a fixed value. This way you can ensure that your depth of field remains consistent across your shots.
- Use a tripod, especially for landscape photography. It's important to keep your camera steady when taking shots with different tonal ranges. A tripod will help you achieve this.
As a general rule of thumb, you can start by setting your camera to Aperture Priority mode, selecting an aperture value, and then adjusting the shutter speed to capture a range of exposures. You can also use exposure bracketing to automatically take three images (or more) at different exposures.
Auto HDR mode
AutoHDR can be a useful feature for photographers who want to quickly capture a great image without having to spend time adjusting camera settings. It is also a great option for real estate photographers who need to shoot a large number of objects in a short time. However, it's important to note that the final result may not always be exactly what you want. The camera's automatic HDR process doesn't always produce the desired result. Also, the processing time can slow down the camera's performance.
Shooting HDR Photos on Your Phone
Does your smartphone support HDR techniques? The next time you open the camera on your phone, look through the options and settings. You might see something like "HDR switched". Shooting high-dynamic range photos with smartphones is becoming more and more popular because you can get great shots just on the go. We've already figured out what is an HDR photo, but how do you make one with your phone camera?
HDR on iOS
iOS devices like iPhones and iPads have built-in high dynamic range capabilities that let you take great photos right from the camera app. Just tap the HDR icon at the top of the iPhone camera screen. When you turn on this mode, your device takes multiple shots at different exposures and combines them into a single photo.
HDR on Android
Depending on your smartphone, this mode can be found in different places, but it is usually found in the camera settings or as an option in the camera mode selection. How to define HDR photos? There will be much more detail on it compared to a regular image.
HDR Photography Software
There are several HDR software options available for processing and editing high-dynamic-range images. Here are some popular photo editing software programs.
Adobe Lightroom and Photoshop
Adobe Photoshop is one of the most popular options for editing high-dynamic range photos. Its Merge to HDR Pro feature allows you to combine multiple exposures into a single image. This software offers a wide range of editing tools to adjust tone, contrast, and color.
In Lightroom, you can also right-click on the selected photos and choose Photo Merge > HDR.
Photomatix and Photomatix Pro
This is a standalone software program that specializes in processing high dynamic range images. It offers a range of presets and customization options to create natural-looking or more stylized photos.
Phone Apps For HDR Photography
You no longer need a DSLR to get the perfect shot. Your mobile device can be the only HDR camera you need to take professional photos, whether you're a beginner or an expert. There are also several phone apps for capturing and editing high-dynamic-range images. Some of the best options include Adobe Lightroom Mobile, HDR Camera, TADAA, Camera+ 2, and Hydra.
Common HDR Issues
While HDR photo meaning is great, there are some common problems that photographers may encounter.
Flattening Your Image
When flattening your HDR photo it's important to strike a balance between preserving the dynamic range and making the image suitable for viewing on the desired device. Try to retain the details and tones that make the photo unique, while ensuring that the final flattened image has a natural and balanced look.
Black Clouds
When taking a photo, it is important to ensure that the sky and clouds are well exposed and retain their detail, as they are often a key part of the composition. However, sometimes the sky can appear too dark or black in the final HDR image, which can be undesirable.
Halos
A halo effect occurs when the edges of objects in the photo appear to be surrounded by a bright or dark halo, making the image look unnatural. This can happen if the HDR processing is too aggressive, resulting in oversharpening or oversaturation. To avoid this problem, adjust the tone mapping settings in your photo editor to produce a more natural-looking image.
Conclusion
Now you know what is HDR in photography. Remember, these tips are not a strict set of rules that you absolutely have to follow. Instead, it would benefit you to pay heed to this advice and we recommend you not impede on your artistic impulses. Instead, experiment and play around with your photographs. This is what has made other photographers prestigious in their work as they always invent new ways to shoot. Happy shooting!
HDR Photography FAQs
Why Use HDR Photography?
This is a powerful tool that can help photographers capture and create stunning images that are rich in detail, color, and visual interest.
What Equipment Do I Need for HDR Photography?
To create HDR images, you need a camera, tripod, remote shutter release, special software, and a graduated neutral density filter (optional).
How Many Images Do I Need for HDR Photography?
HDR meaning in photography includes a wider range of tonal values. The number of images you need depends on the dynamic range of the scene and the amount of detail you want to capture. Typically, you will need at least three options — one properly exposed, one underexposed, and one overexposed.